By adding Facebook Messenger on your WordPress Website, your Website vistors can interacting with the people who visited your website.
To Install WP-Chatbot on WordPress Website.
From WordPress Dashboard
Navigate to Plugins -> Add New
Search for the keyword “WP Chatbot”
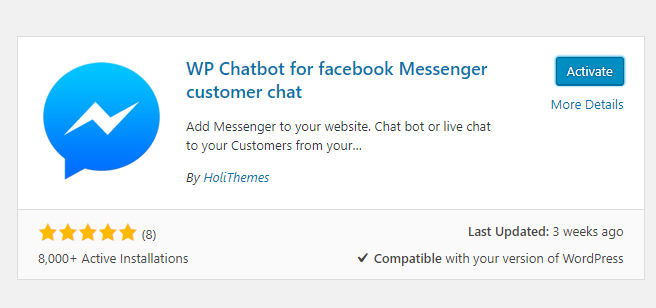
Now install the plugin and click on activate.
After activate the plugin go to the settings.

Plugins Settings
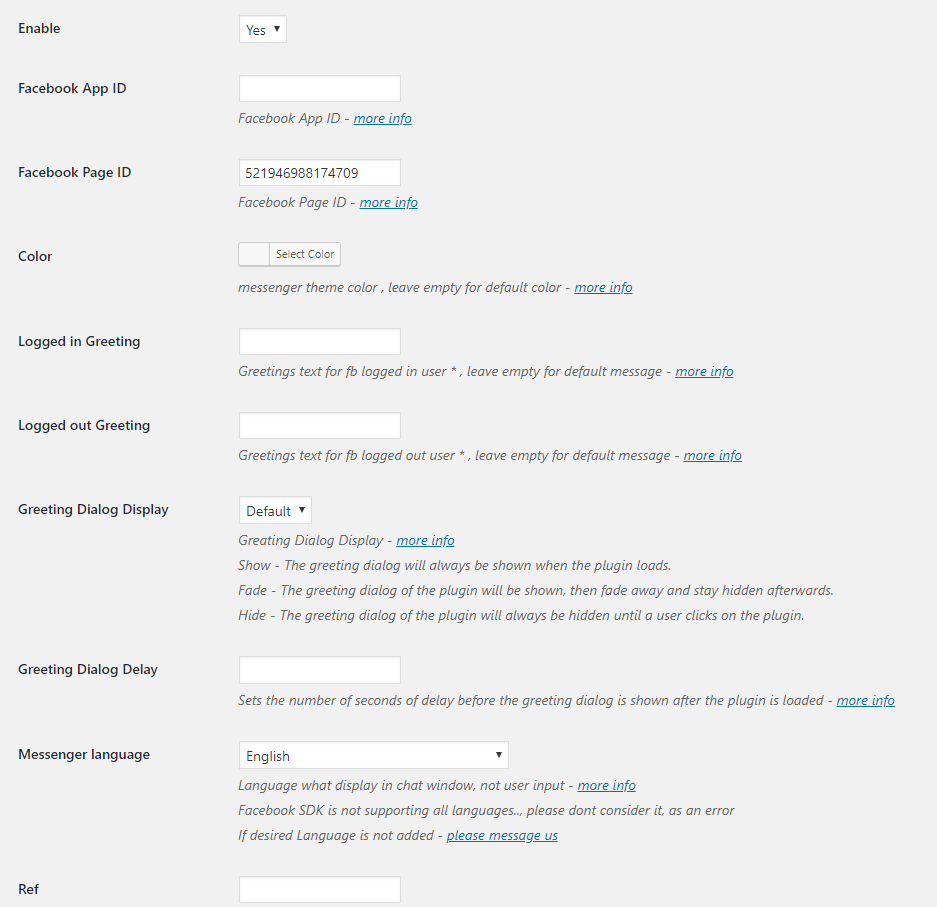
WP – Chatbot provides many customise settings.
Enable ‘Yes’,
All the fields are not mandatory and only one field is required ‘Facebook Page Id’. Don’t forget to add the whitelist domain name at facebook page settings.
Add Facebook Page Id. Click on save changes.
Find Facebook Page ID
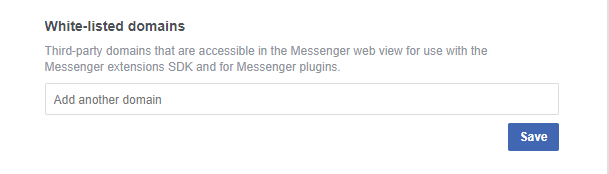
Whitelist domain name
Don’t forget to add the domain name to the Facebook page settings.
To add the domain name, go to the facebook page settings, click on messenger platform, scroll down you can find the field named Whitelisted Domain, add the domain name of your website in that particular field. Click on save changes.
Now visit your website you can find the Facebook messenger on your web page.
Other Plugin Settings
Facebook App-Id:
Facebook App-Id is not mandatory, but by adding app-id analytics page can be viewed.
Color:
Can change the Messenger theme color by selecting the various colors and is the field is left blank default color will appear.
Logged in Greeting:
This field is left empty for default message and displays the greeting message when the user is logged in.
Logged out Greeting:
This field is left empty for default message and displays the greeting message when the user is logged out.
Greeting Dialogue Display:
By default, Greeting Dialogue Display will display on Desktops, and hide on Mobile Devices.
Greeting Dialogue Delay:
Set the number of seconds of delay before the greeting dialog is shown after the Facebook SDK is loaded.
Messenger Language:
Most of the languages are not been added yet, as Facebook SDK doesn’t support all the languages.
Ref:
There are multiple ways to use ref attribute.
Based on the Ref value, you can arrange the bot to start the chat from a specific place.
Hide Based on Post Type:
Can hide the messenger based on the type of the page.
If it is checked ( ticked ) it means Hide Messenger.
Post, Page Id’s to Hide:
To Hide Messenger on selected posts, pages or any post type, Add post ID in ‘Post, Page ID’s to Hide‘ field.
Categories to Hide:
Based on Category name, we can hide Messenger.
To hide multiple categories — Separate each category with a comma (,)
Hide Based on Devices:
Can hide the messenger based on the type of the device that is checked/ticked.
Shortcode name:
Default shortcode name is ‘chatbot’.
Can change the name, by adding some value at ‘Shortcode name’ field and save.